
8 minutes read
PHP for Mac: get started fast using Laravel Valet
 Written by
Table of contents
- → Introduction
- → Install the Xcode Command Line Tools
- → Install Homebrew
- → Install the latest version of PHP
- → Install Composer
- → Add Composer’s global bin to PATH
- → Install Laravel Valet
- → Allow Laravel Valet to be run without admin privileges
- → Park Laravel Valet in your projects’ folder
- → Link a single project
- → Serve a project over HTTPS with TLS
- → Switch PHP versions
- → Per-site PHP versions (isolate)
- → Install a database alongside Laravel Valet
- → Troubleshooting
- → Conclusion
Introduction
Before we start, why don’t you take a look at Laravel Herd instead? It’s an even simpler solution for people who have better things to do than messing with Homebrew and troubleshooting weird bugs. If you prefer a one-click setup, see the Herd documentation too.
Laravel Valet is a minimalist’s dream development environment for macOS.
It’s a lightweight solution that’s fast and has very low overhead compared to VMor container-based stacks like Docker.
Unlike Docker, Laravel Valet is pragmatic and has minimal impact on your Mac’s resources.
With Laravel Valet, you don’t have to manage the state of your containers, and you can work on many projects at once since they’re always available.
Valet ships with drivers for many popular frameworks and CMSs. You can also extend Valet with your own custom drivers.
It works on Intel and Apple Silicon (M1/M2/M3) Macs and uses Nginx and dnsmasq under the hood.
Install the Xcode Command Line Tools
Xcode Command Line Tools are a neat little collection of tools provided by Apple. They’re super handy for developers who need to compile and debug applications from the terminal.
In our case, we won’t directly use them. But Homebrew will! So let’s get this out of the way before the next step:
xcode-select --install
The Command Line Tools are enough for this guide. You do not need to install the full Xcode app.
Install Homebrew
Homebrew is like a helpful package manager for Mac users. If you’re already familiar with any Linux distribution, you will get this concept.
Homebrew is an unofficial package manager that makes it easy to install software on your Mac.
Instead of hunting down various files, struggling with dependencies, and wrestling with installations, you just tell Homebrew what you want, and it takes care of everything.
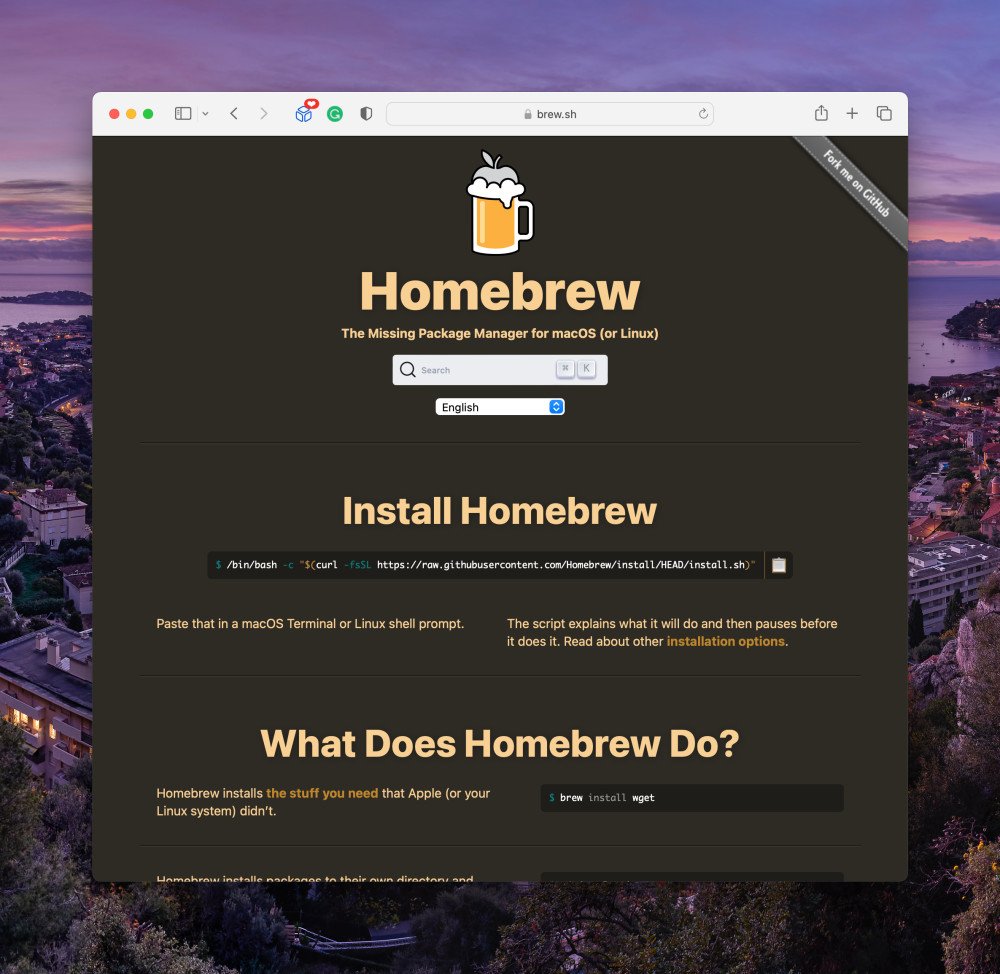
Run this command and it will automatically be installed on your Mac. Just follow the instructions that come next, it’s easy.
/bin/bash -c "$(curl -fsSL https://raw.githubusercontent.com/Homebrew/install/HEAD/install.sh)"
Install the latest version of PHP
With Homebrew installed, you can now also install the latest version of PHP on your system using the following command:
brew install php
Laravel Valet is built on top of PHP, so this is a mandatory step.
Install Composer
Instead of using the official way to install Composer, we’ll let Homebrew do all the work. It’s quicker.
brew install composer

Add Composer’s global bin to PATH
To add Composer’s global package binaries into your PATH, first ask Composer for the exact directory:
composer global config bin-dir --absolute
Then add that path to your shell config so you can run global Composer tools by name:
- Open your terminal.
- Edit your shell file:
nano ~/.bash_profilefor Bash ornano ~/.zshrcfor Zsh. - Add a line like:
export PATH="$PATH:/the/path/you/got/from/composer" - Save and exit (Ctrl+X, then Y, then Enter).
- Reload your shell:
source ~/.bash_profileorsource ~/.zshrc.
Now, what does it mean and why do we need this? When you install packages globally with Composer, their binaries live in that directory. By adding it to your PATH, you’re telling your shell to look there when you type commands. It’s a simple way to use those tools without typing the full path each time.
Install Laravel Valet
Now that we have Composer installed, we can install Laravel Valet as a global package:
composer global require laravel/valet
And thanks to the previous step, we can now do this to complete the installation:
valet install
Then, make sure it works by running the following command:
ping foo.test
And you should see something like this:
PING foo.test (127.0.0.1): 56 data bytes
64 bytes from 127.0.0.1: icmp_seq=0 ttl=64 time=0.081 ms
64 bytes from 127.0.0.1: icmp_seq=1 ttl=64 time=0.139 ms
64 bytes from 127.0.0.1: icmp_seq=2 ttl=64 time=0.254 ms
When everything works correctly, Laravel Valet redirects any .test domain to your local Nginx server using dnsmasq.
Common Valet commands you may need:
valet linkslists linked sites.valet pathslists parked folders.valet restartrestarts Nginx, PHP, and dnsmasq.valet proxyandvalet proxiesmanage proxies if you need to route a domain to another local port (for example, a Node server).valet tldshows or changes the top-level domain (default istest).valet diagnoseprints a report to help you fix problems.
Allow Laravel Valet to be run without admin privileges
What’s annoying when using Laravel Valet frequently is that it’s always asking you for your password.
If you are willing to trust it with the safety of your Mac, run the following command and be done with passwords:
valet trust
This adds sudoers rules so Valet and Homebrew services can run without password prompts. Only run it on a machine you trust.
Park Laravel Valet in your projects’ folder
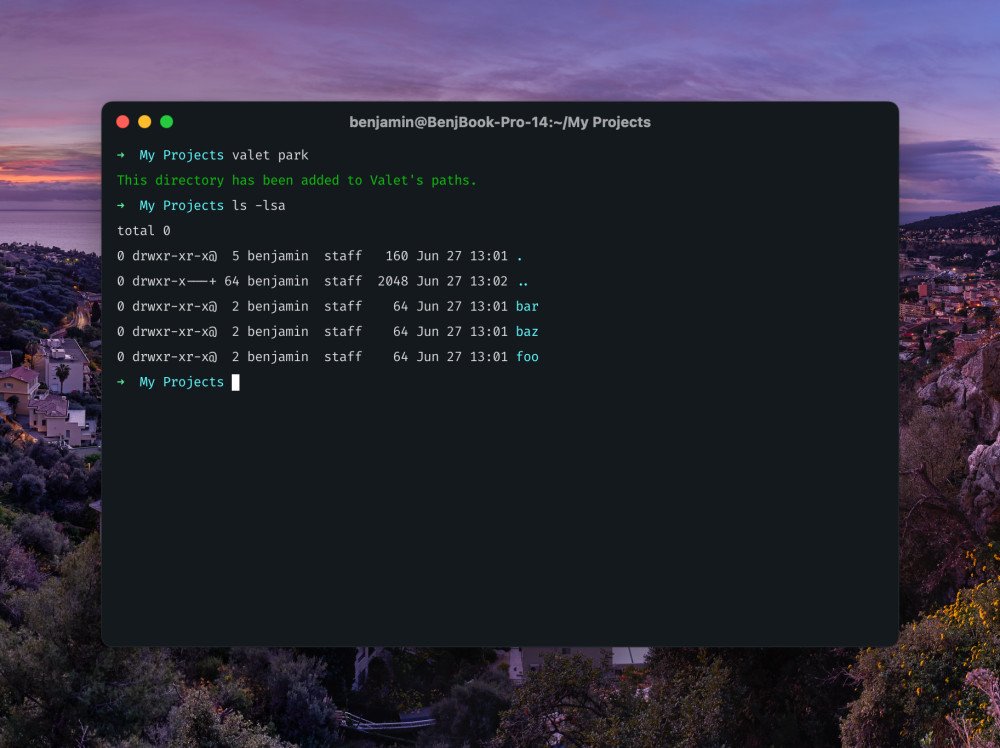
Next, you’ll want to direct Valet to “park” in your projects’ directory. This means Valet will automatically serve all projects in the chosen directory:
cd /path/to/projects/folder

valet park
Tip: run valet paths anytime to see which folders are parked. You can also change the TLD (for example, from .test to .dev) with valet tld dev.
Link a single project
If you have a project in a random folder, you can also serve it without serving the whole folder.
cd /path/to/project
valet link
Or from inside the project, set a custom name:
valet link mysite
List and remove links with:
valet links
valet unlink mysite
Serve a project over HTTPS with TLS
Being able to serve local projects over HTTPS has several advantages. As someone who also develops native apps for the Apple ecosystem, I can think of serving secure local REST APIs for iOS app development. iOS App Transport Security (ATS) enforces HTTPS by default, so using HTTPS locally avoids extra setup.
Secure a site by name or from inside the project directory:
valet secure mysite
# or, inside the project directory
valet secure
Whenever you need to, you can unsecure your project:
valet unsecure mysite
Valet manages certificates under ~/.config/valet. After some macOS upgrades, Keychain may ask you to trust new certs.
Switch PHP versions
With Laravel Valet, you are not restricted to just the latest version of PHP. You can install and use other maintained versions as needed.
For example, install PHP 8.3:
brew install php@8.3
And switch back and forth whenever you need:
valet use php@8.4
Per-site PHP versions (isolate)
Some projects are more modern than others. This is why it’s useful to be able to serve projects with different versions of PHP. Luckily, Valet makes it easy with the isolate command:
cd /path/to/project
valet isolate php@8.2
Optionally target a site by name:
valet isolate php@8.2 --site="mysite"
To revert to the global PHP version:
valet unisolate
Install a database alongside Laravel Valet
Databases can also be installed with Homebrew. You can even install multiple versions, just like with PHP.
brew install mysql postgresql redis sqlite
Need specific versions? Try:
brew install mysql@8.4 postgresql@17
# or use `brew search mysql@` and `brew search postgresql@` to see what is available on your system
Alternatively, you can use DBngin, a free database management tool and an easy way to get started with PostgreSQL, MySQL, Redis & more.
It can even manage the software that you installed via Homebrew. 👌

So now, what about installing Laravel itself? Here’s my guide: How to install Laravel on macOS
Troubleshooting
- If something stops working, run
valet restart. - Make sure
.testdomains resolve to127.0.0.1withping foo.test. If not, check that dnsmasq is running and tryvalet installagain. - Run
valet diagnoseand read the report for common fixes. - If Nginx or PHP looks stuck,
brew services listcan show which services are running.
Conclusion
You now have PHP, Composer, and Valet installed on macOS. You can park a folder to serve many projects or link a single project anywhere. You can secure sites with HTTPS, switch PHP versions, and even isolate a project to a specific PHP version. When you’re ready, continue with my next step: install Laravel on macOS.
Did you like this article? Then, keep learning:
- Learn to fix common Laravel errors like “419 Page Expired” after local setup
- Discover best Laravel cloud hosting providers to deploy projects created locally with Valet
- Use Bun for faster package management in Laravel projects after local setup
- Understand how to switch PHP versions, useful after installing Valet
- Master error handling in Laravel HTTP client relevant for local development
- Step-by-step guide to upgrade Laravel projects complements local Laravel development
- Learn about Laravel Herd, an even simpler environment for Mac PHP development
- Guide to install Laravel on macOS complements your Valet setup
- Explore Laravel Prompts to enhance Artisan commands post-installation
- Explore the latest PHP features relevant after installing PHP for Valet


0 comments