7 minutes read
How to deploy PHP & Laravel apps on Sevalla ($50 free credits)
Sep 12, 2025
 Written by
Manish M. Shivanandhan
Table of contents
Laravel is one of the most popular PHP frameworks, celebrated for its expressive syntax, powerful tooling, and ability to speed up development.
Many developers rely on it for building APIs, full-stack web applications, and even enterprise platforms. But once the app is built, the real question arises: How and where do you deploy it?
In this guide, you’ll learn how to deploy a Laravel project on Sevalla, a developer-first hosting platform that makes deployment simple and predictable. By the end, you’ll have a Laravel application running in production, deployed straight from GitHub. And with Sevalla’s $50 free credit, you can try it out risk-free and launch your first project without any upfront cost.
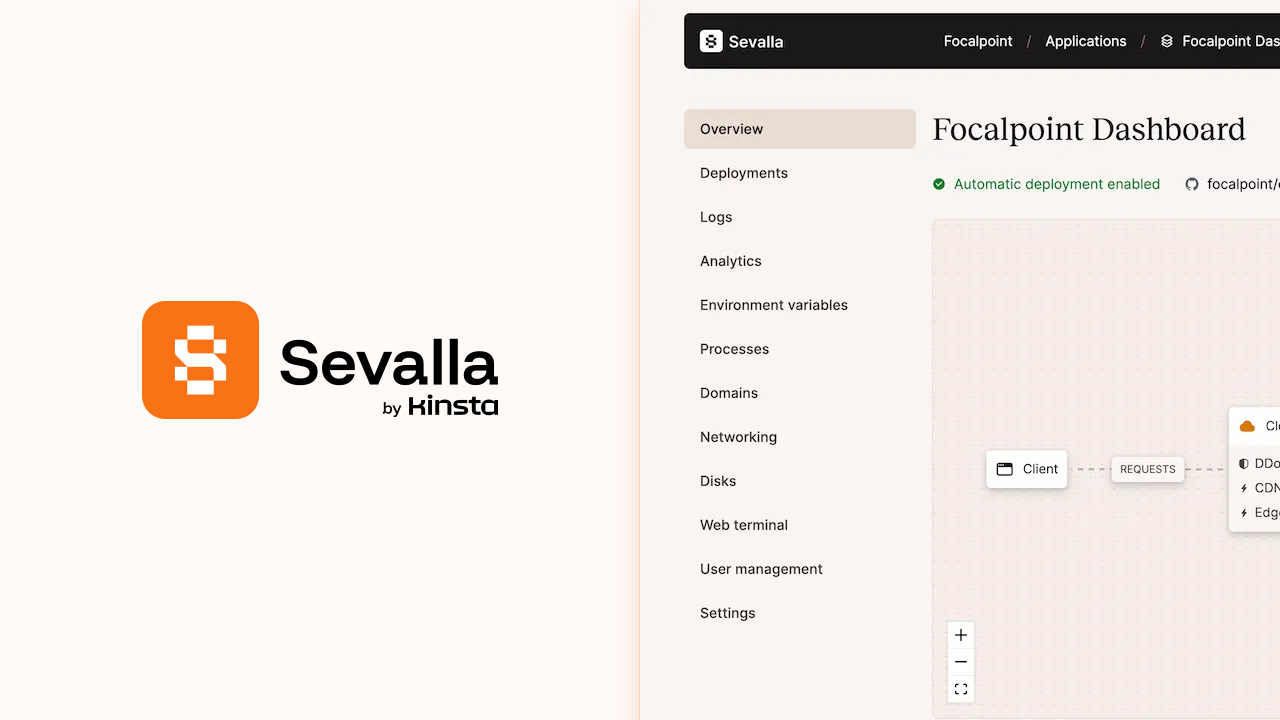
What is Sevalla?
Sevalla is a Platform-as-a-service provider built by the team behind Kinsta, the popular WordPress hosting platform.
Sevalla combines powerful features with a smooth developer experience. They offer application hosting, database, object storage, and static site hosting for your projects.
Unlike platforms like Heroku, which provide almost all features via additional integrations, Sevalla gives you exactly what you need to build and deploy an app to your users.
Imagine if someone took just the essential features from cloud platforms like AWS or Azure and put them into a single, easy-to-use dashboard. That’s exactly what Sevalla is. A clean, simple interface with everything you need, and nothing you don’t.
Why Deploy on Sevalla?
Sevalla is designed to streamline deployment, especially for developers who want speed without sacrificing flexibility. It integrates directly with GitHub, GitLab and BitBucket, so pushing changes to your repository can automatically update your live application. This eliminates the need to manually configure servers, PHP versions, or SSL certificates.
The platform also makes scaling straightforward. If your application grows, you can increase server resources or replicate services without rebuilding your setup (vertical and horizontal scaling is supported). Since Sevalla supports PHP and Laravel natively, and has predictable pricing to avoid any surprise costs during traffic or usage spikes.
In a nutshell, Sevalla handles all the heavy lifting of deploying and scaling your app, so you can focus entirely on building it.
Preparing Your Laravel Project
To speed things up, you don’t need to start from scratch. We are going to deploy a sample Laravel project to Sevalla. Fork this repository to your GitHub account.
This repository is a fresh installation of a Laravel project. Use the env.example as your environment variables. You will see that there are some minimal changes eg. database=null compared with a usual Laravel project. Since we are not using a database the setup has been simplified for this tutorial.
This gives you a ready-made application that works out of the box, so you can focus on learning the deployment process instead of debugging configuration issues. After forking, you’ll have a project in your own GitHub account that Sevalla can pull from directly.
Creating an Application on Sevalla
Begin by creating an account on Sevalla. Use GitHub to authenticate (or you can do it later) so that Sevalla can pull your repository when you create the application.
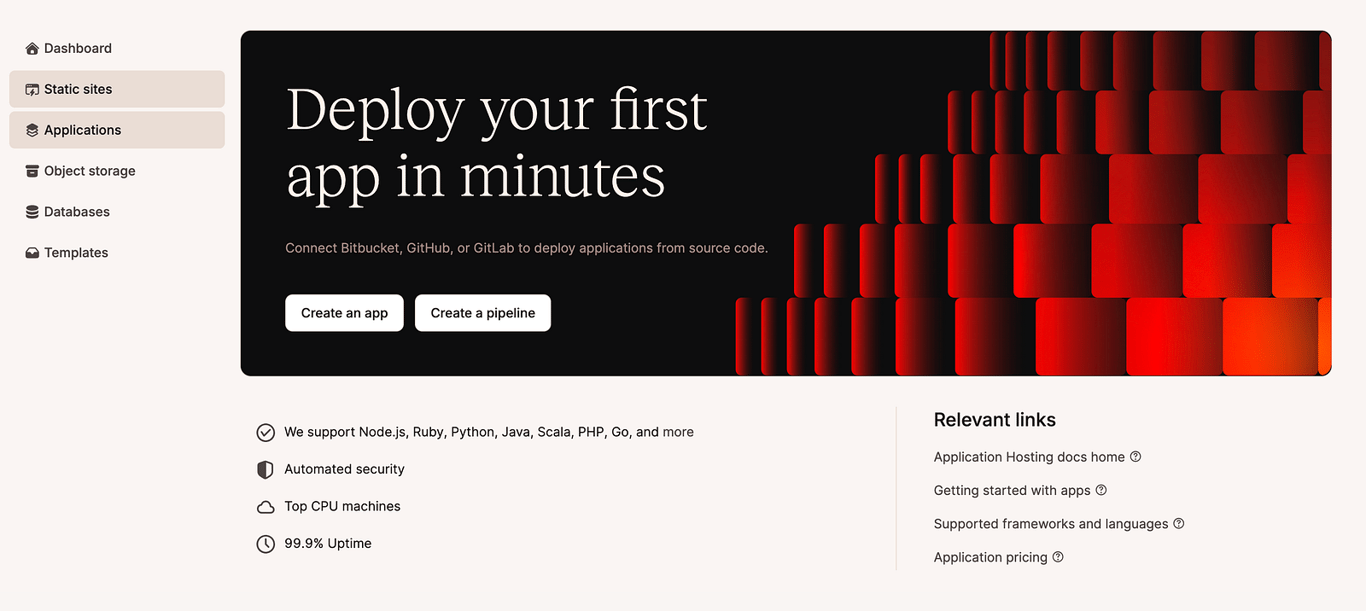
Once you are in, click on “Applications”. Click “Create an app”.
You’ll then see the application creation interface. Choose the repository you just forked.
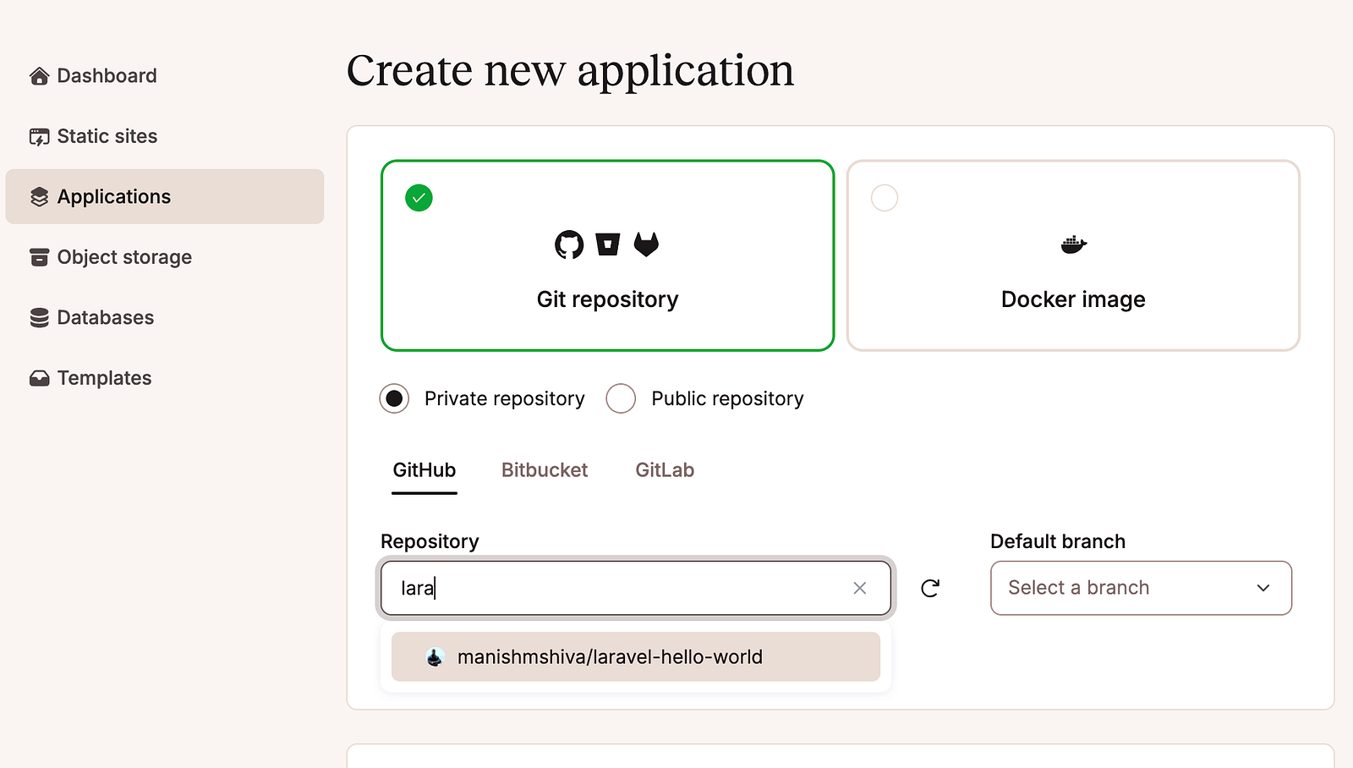
Check “Automatic deployment on commit” so that Sevalla will automatically deploy every change you push to the repository.
Then type a name for your application. We then have the option to choose a location for our server. You can choose something that is close to your user base, but for this tutorial, I’ll leave it as default.
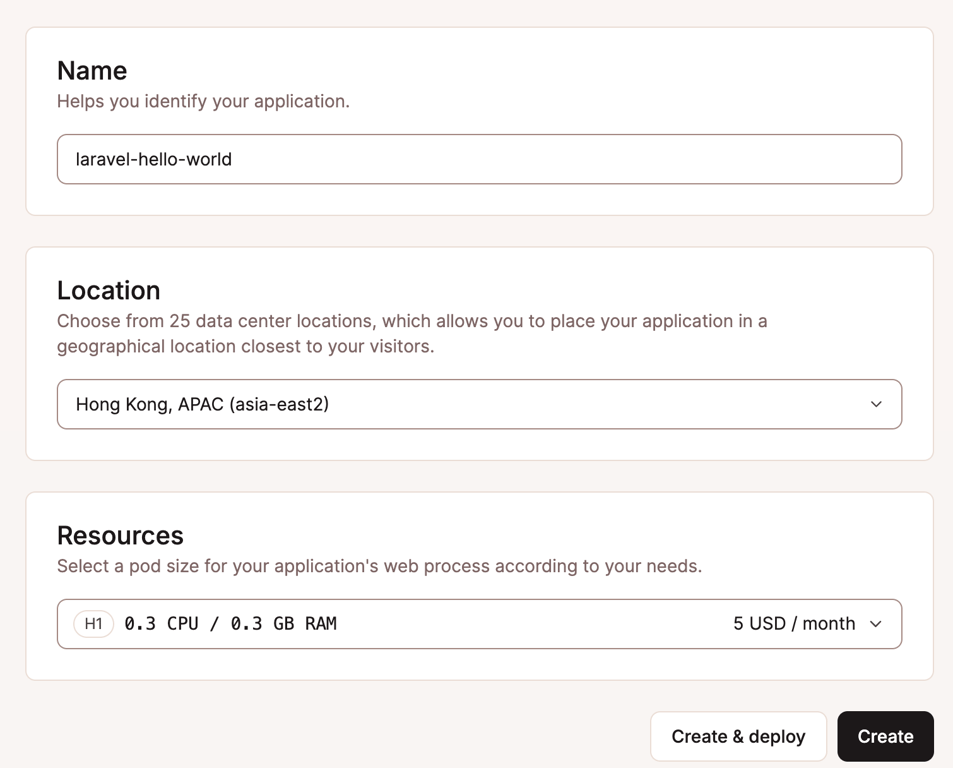
Next is the “resources”. You have the option to choose from a variety of servers. We will choose the “hobby” server that costs $5/mo. Sevalla gives you a credit of $50, so this plan is enough for us to finish this tutorial.
Finally, click “Create”. Don’t click “Create and Deploy” since we have to add our environment variables, or the app will crash during deployment or throw errors on runtime.
Deploying your App
Once the app is created, click on “Environment variables”.
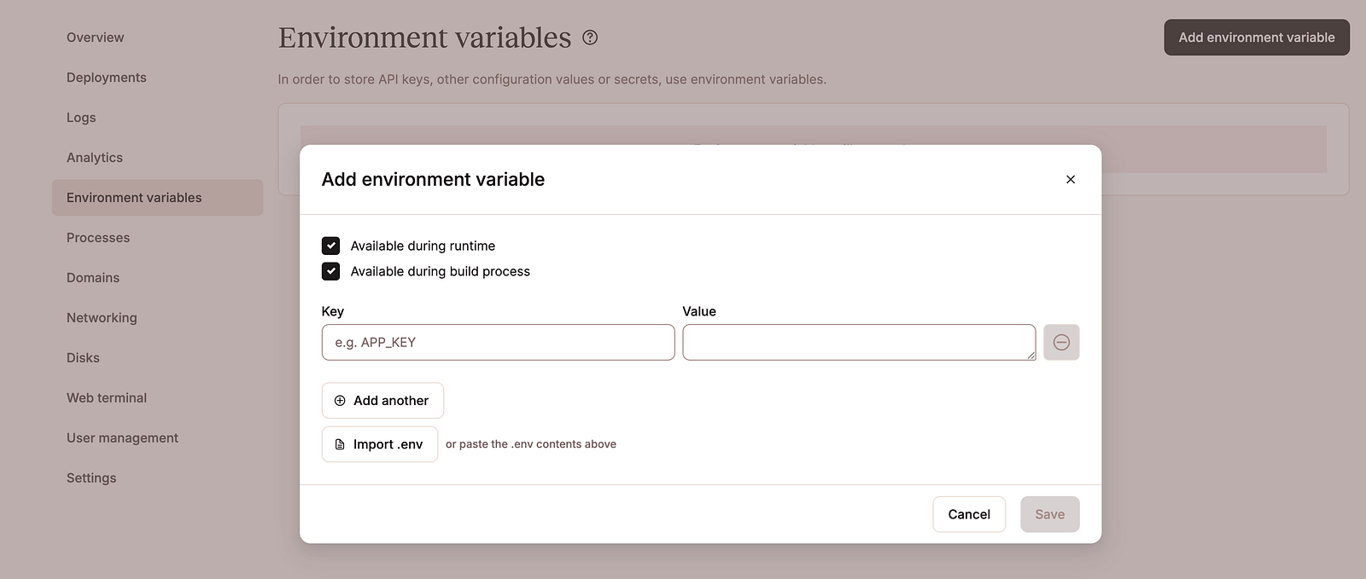
Now copy-paste the values from the env.example file. You can paste all values in the first text box, and Sevalla will automatically create individual env variables.
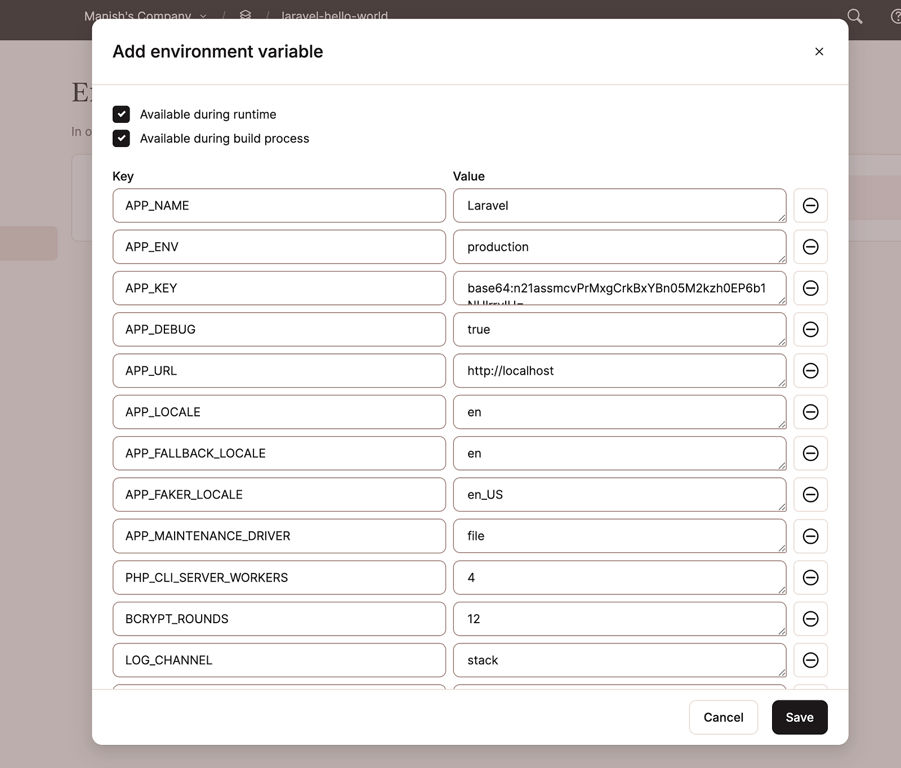
Save the environment variables. Go to “Deployments” and click “Deploy now”.
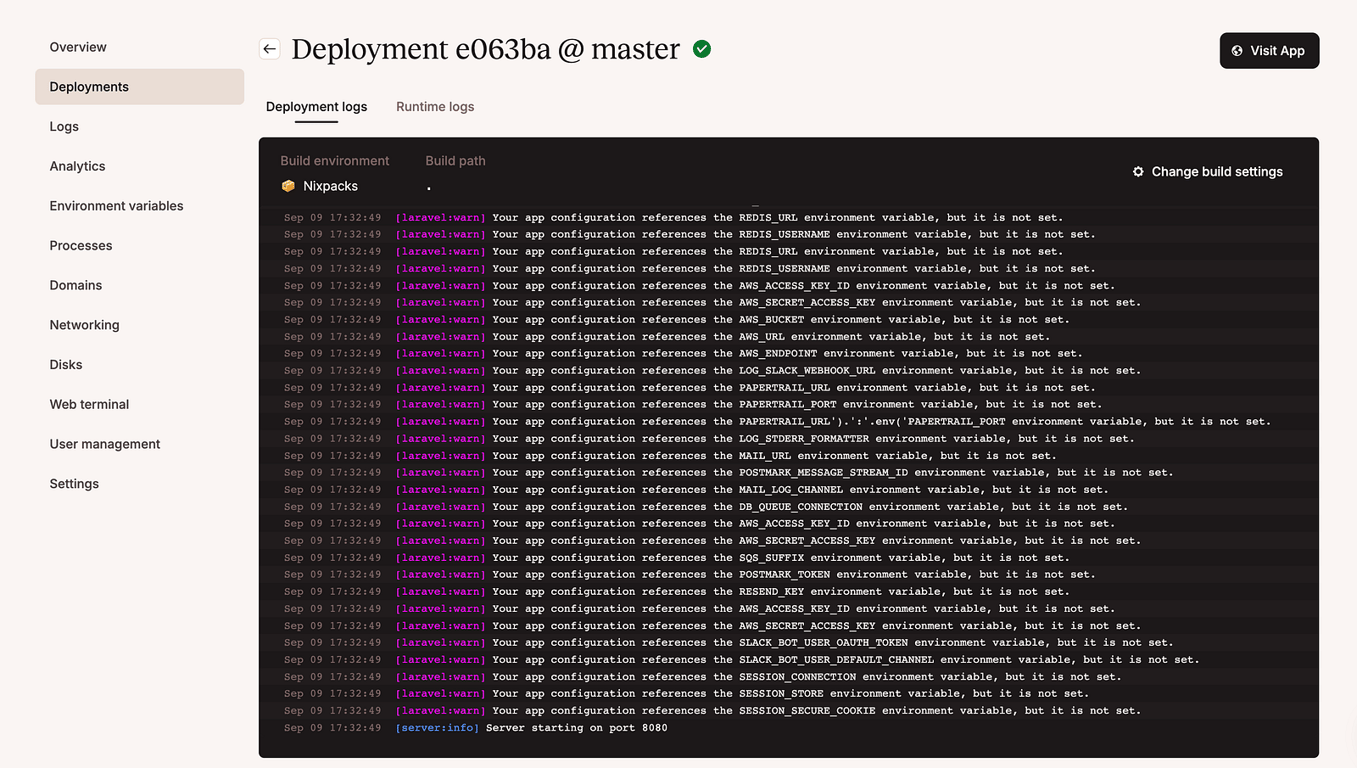
Sevalla detects Laravel projects automatically. Sevalla also takes care of Nginx configuration internally, so you don’t have to worry about web server details.
When deploying, Sevalla installs dependencies using Composer and runs optimization commands such as php artisan config:cache, php artisan route:cache, and php artisan view:cache. If your application needs a database, you can either create one inside Sevalla or connect to an external instance.
After the deployment finishes, Sevalla provides a live URL for your project. Click on “Visit App” above the deployment panel.
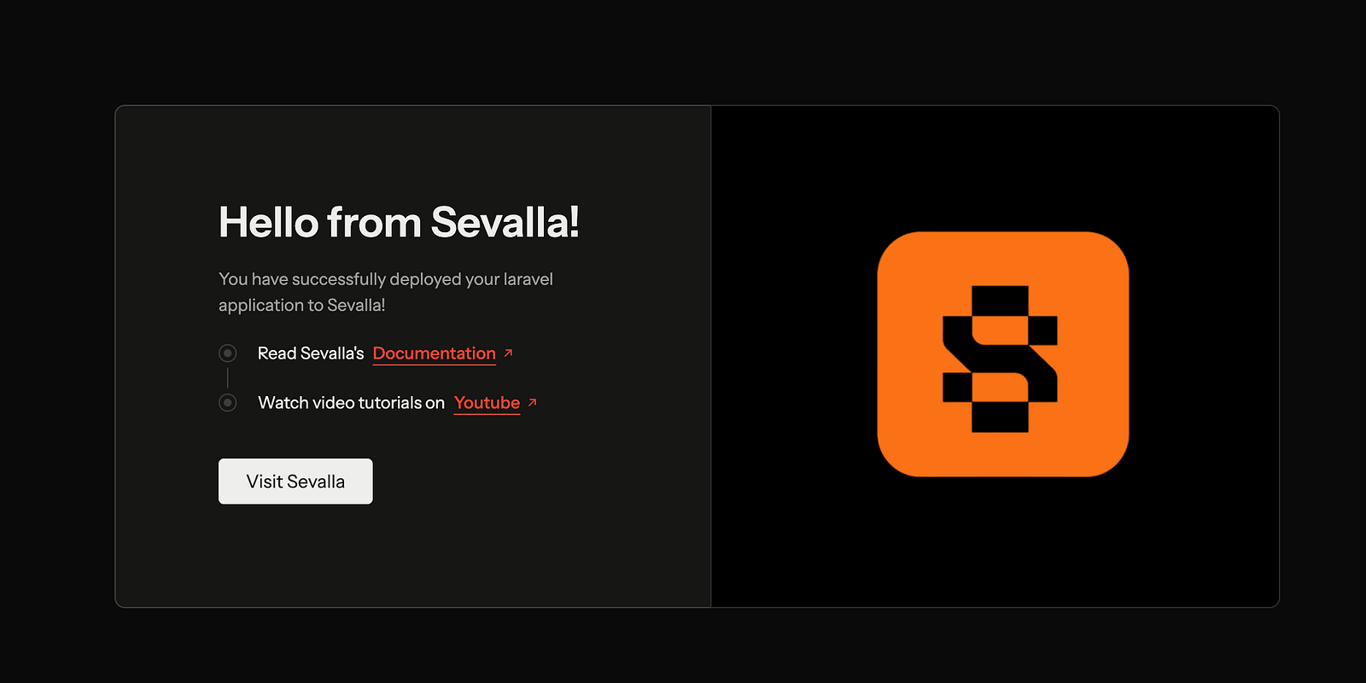
Congratulations! You have deployed your app to Sevalla.
One of the biggest advantages of hosting on Sevalla is the ability to enable continuous deployment. By linking the project to GitHub, you have allowed Sevalla to automatically redeploy whenever you push changes to your branch. This means you no longer need to redeploy manually, your live app always stays in sync with your repository.
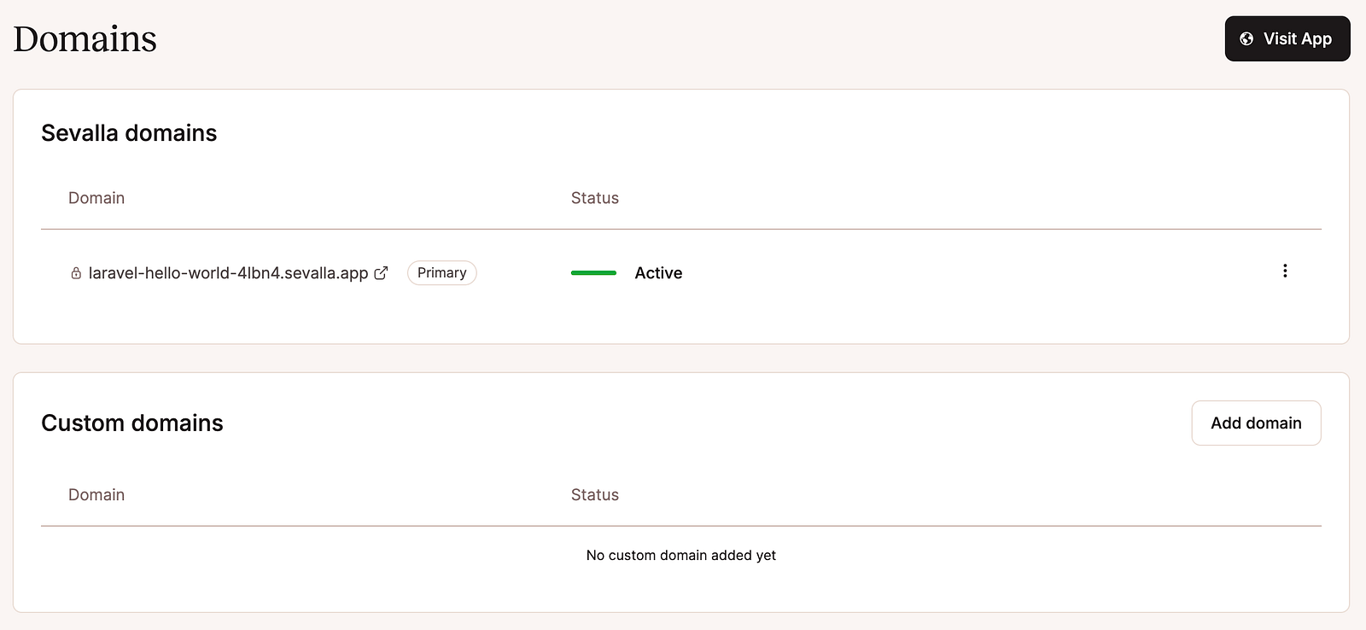
SSL, Domains, and Scaling
With the app live, the next step is making it production-ready. Sevalla automatically provides free SSL certificates, so your project runs securely over HTTPS without extra setup. You can also connect a custom domain by updating your DNS records to point toward Sevalla.
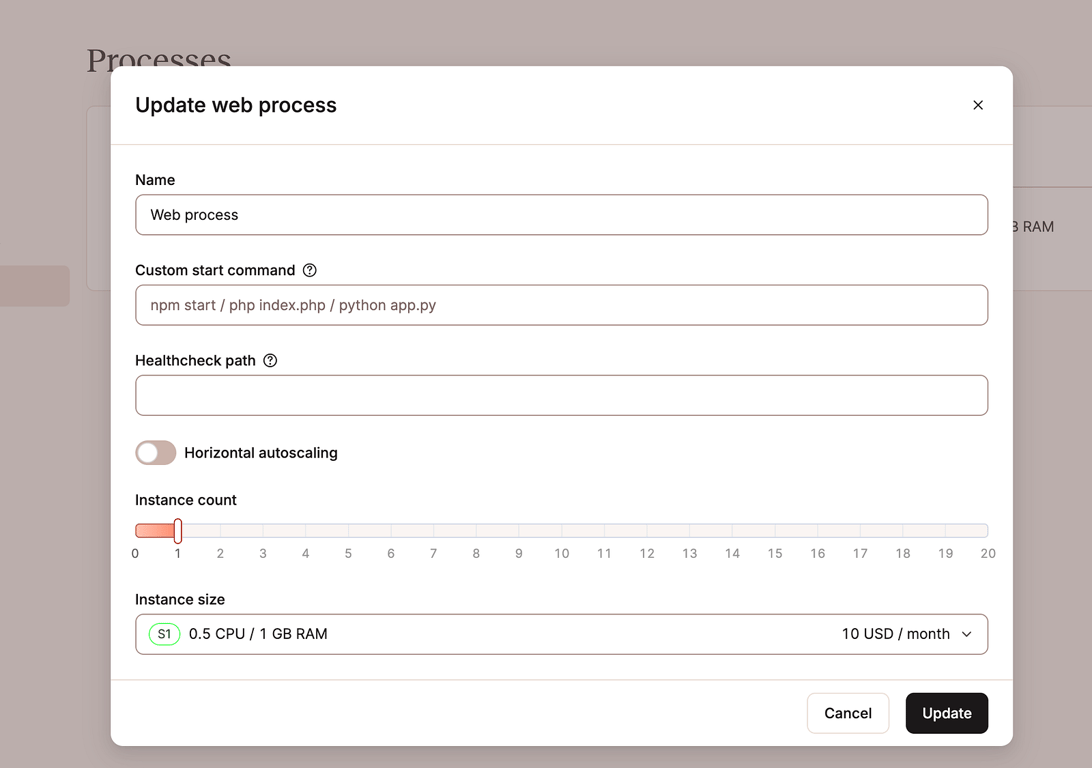
As traffic grows, scaling becomes critical. Sevalla makes this simple by allowing you to increase CPU and memory resources or even run multiple instances of your application. These adjustments can be done directly from the dashboard, turning a small demo project into a fully capable production system.
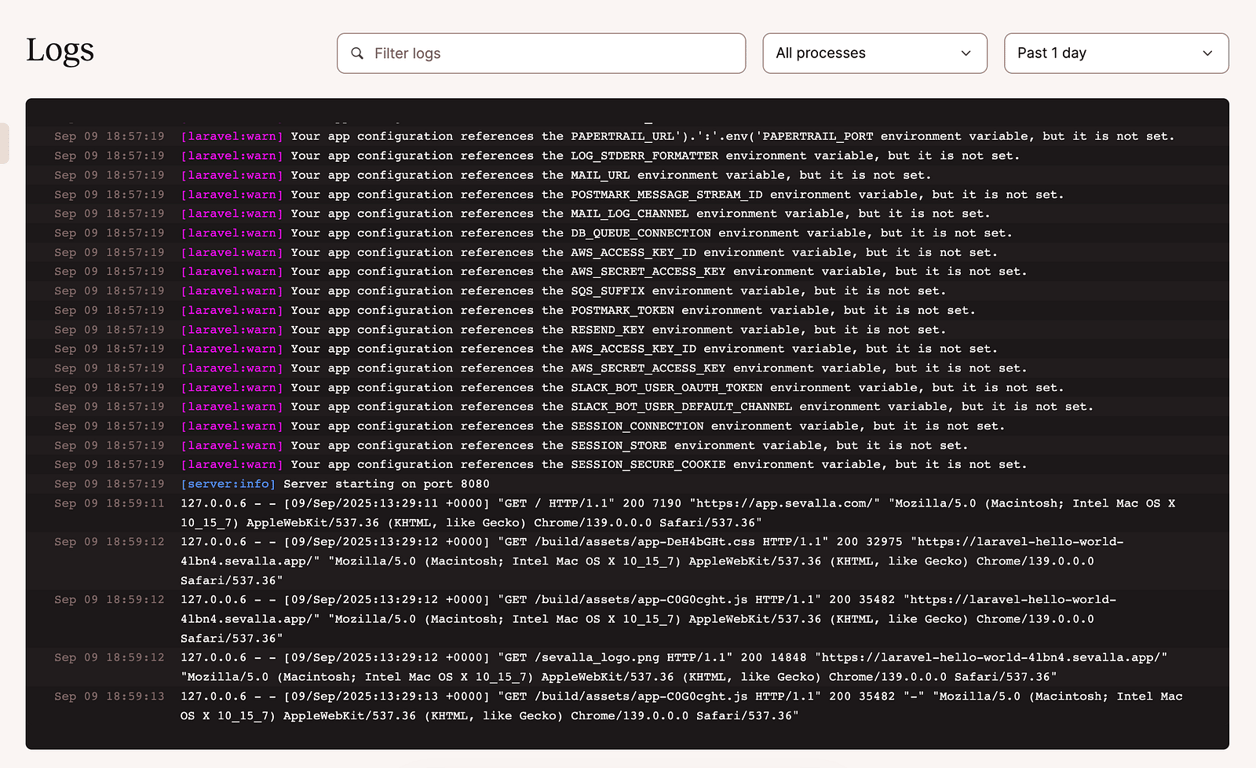
Debugging and Logs
Errors and bugs are inevitable, but Sevalla provides tools to help you manage them. Logs, showing both application-level messages and server-side events, are available directly from the dashboard.
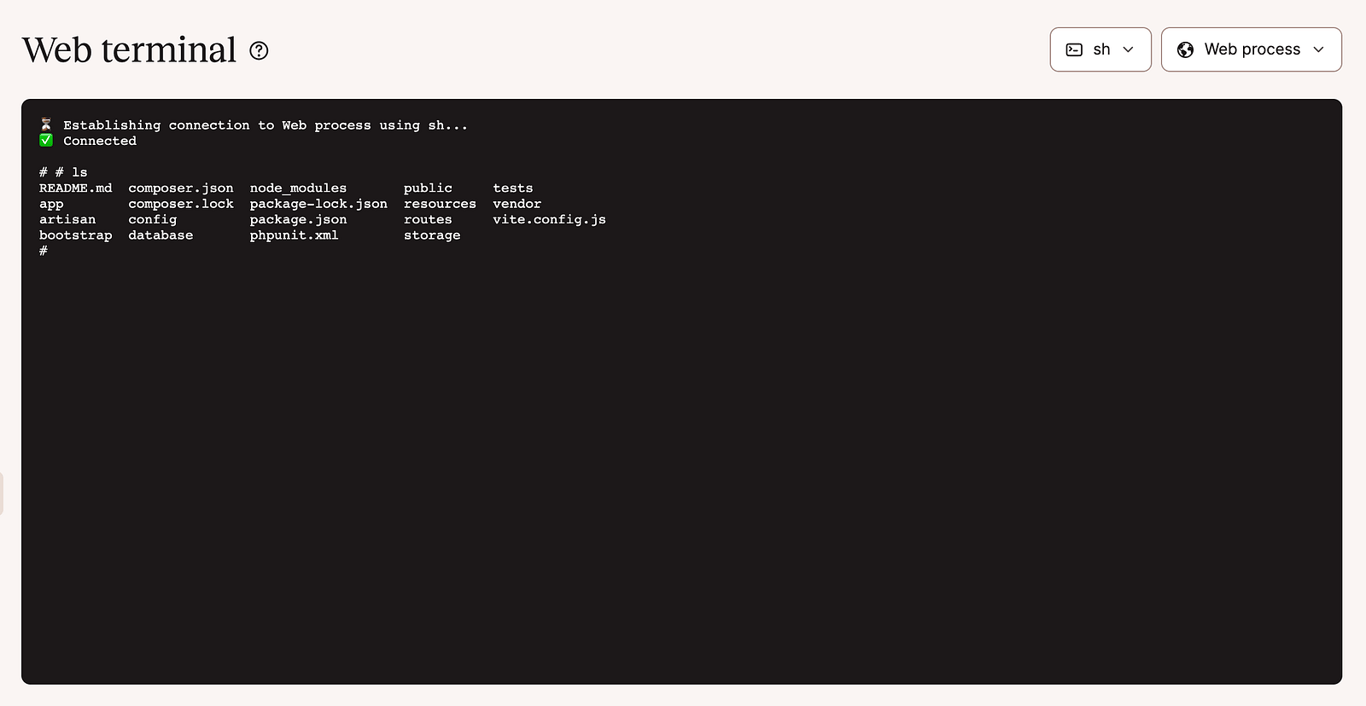
If you run into Laravel-specific issues, you can use commands like php artisan cache:clear and php artisan route:clear from the web based terminal to reset caches before redeploying.
TL;DR
In the past, deploying Laravel required setting up servers, configuring Nginx, tuning PHP settings, and manually managing SSL certificates. With Sevalla, this process has been reduced to a few simple steps. You connect your GitHub repository, set environment variables, and click deploy. Within minutes, your Laravel project is online and production-ready.
Whether you’re testing a small project, launching a SaaS application, or deploying for enterprise use, Sevalla provides the flexibility and reliability you need. Its GitHub-first workflow and built-in scaling tools make it a natural fit for developers who want deployments to be fast, predictable, and hassle-free. And with a $50 free credit to get started, you can try Sevalla risk-free before committing.